


The finished result this kit targets looks like a proper YouTube talking head instead of a webcam call: a soft, shaped key light on one side of your face, a gentler fill that keeps the shadow side from going muddy, and a thin rim of light on your hair and shoulders that separates you from the wall behind. It is built for desk creators who started with a single ring light and now want the classic three-point look without renting studio space.
A ring light sits on the camera axis, so it lights your face evenly from the front. That is flattering for calls but flat on camera, and it leaves a ring reflection in your eyes and glasses. This method moves the main light off to the side, adds a fill at lower power, and puts a separate light behind you. Every product here is currently listed on Amazon, and the specs below are the makers' listed figures, not a lab shootout. If you also need a camera, start with Turn a DSLR or Mirrorless Camera Into a Webcam: Everything You Need, and for the full desk see the Creator and streaming desk hub.
What You Need
This is one matched three-point kit, not a mix-and-match list. The two panels and the hair light are all bi-color 3200K to 5600K units from the same maker, so you can match color temperature across all three. You also need a camera on a tripod or arm, a power strip, and a roll of gaffer or painter's tape to mark stand positions.
Key and fill lights
The two-pack gives you both front lights and their stands in one box. Each panel is a 40W bi-color light with 330 warm and 330 cool LEDs, a claimed 3300 lux at 1 m, stepless 0 to 100% dimming, and a listed CRI of 96+, which matters for natural skin tones. The aluminum body is fanless, so it stays quiet next to a microphone. NEEWER includes two barn doors, two soft diffusers, two AC adapters, and two stands that extend from 26 to 75 inches.
Softboxes
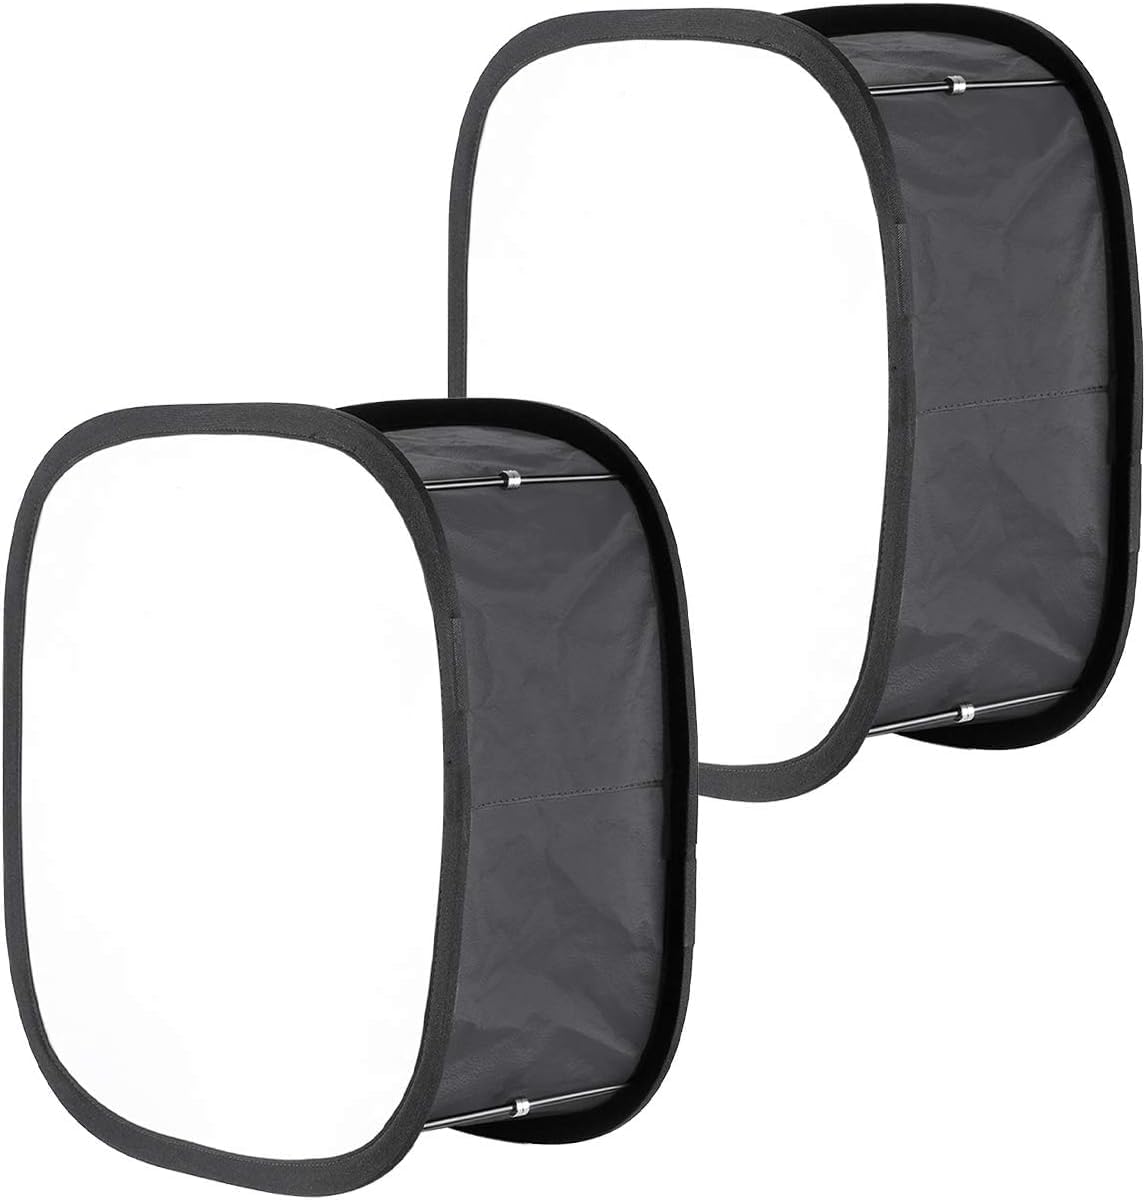
A bare LED panel is a hard, bright square that throws crisp shadows. These pop-up softboxes are made for the 660 panel (16.25 x 16.25 inch front, 9.25 x 9.25 inch rear opening) and strap on to spread the light into a larger, softer source. NEEWER notes that the barn doors must come off first. One box goes on the key, the other on the fill.
Hair light
The hair or rim light only needs to be modest in output, but it needs barn doors so you can aim it at your head and shoulders without flaring the lens. The 530 RGB has a metal body, barn doors, a white diffuser, an AC adapter in the box, and the same 3200K to 5600K white range as the 660 panels. Its RGB mode is a bonus for a subtle colored rim or a background wash, and the NEEWER app can save two sets of settings.
Boom stand for the hair light
A hair light works best above and behind you, which a straight stand cannot reach without showing up in frame. This stand extends from 3.6 to 9.7 feet and converts its center column into a boom whose front section reaches from 0.8 to 3.8 feet, with 1/4 inch and 3/8 inch threads on the spigot. It ships with an empty sandbag; fill it and hang it on the opposite end as a counterweight.
Reflector
The 32 inch five-in-one disc gives you white, silver, gold, black, and translucent surfaces. The white side bounces the key back into your shadow side as a no-power fill. The black side does the opposite and deepens shadows for a moodier look, and the translucent disc can soften a window. It folds into a bag when you are done.
What It Costs
About $455 as of writing for the full kit: about $200 for the 660 two-pack with stands, $64 for the softbox pair, $86 for the 530 RGB, $82 for the boom stand, and $24 for the reflector. Prices move with Amazon deals, so treat that as a ballpark. If you need to start smaller, buy the 660 kit and softboxes first (about $264), use the reflector as a temporary hair-side bounce, and add the 530 RGB and boom stand later.
Step-by-Step Setup
- Pick the spot. Sit at least 3 feet in front of your background so the hair light and key do not spill onto the wall behind you, and set the camera at eye level. A little space behind you is what makes the hair light read as separation instead of a bright wall.
- Control the room light. Turn off overhead lights and close blinds if a window is in play. Mixed sources (warm ceiling bulbs plus daylight) are the main cause of patchy skin tones in this method.
- Build the key. Remove the barn doors from one 660 panel, strap on a 660 softbox, and mount it on one of the included stands. Place it about 45 degrees to one side of the camera, slightly above your eye line, angled down toward your face. Bring it as close as your framing allows, since a closer source looks softer.
- Add the fill. Set up the second NEEWER 660 panel with its softbox on the opposite side, a little lower and farther back. Start it at around half the key's brightness and adjust until the shadow side still has detail but your face keeps some shape. For a lower-cost fill, hold the white side of the 5-in-1 reflector on that side instead.
- Hang the hair light. Mount the NEEWER 530 RGB on the boom of the 2-in-1 stand, place the stand behind and to one side of you, and extend the boom so the light sits above and behind your head, out of frame. Fill the sandbag and hang it on the short end before you let go. Close the barn doors until the light hits only hair and shoulders.
- Match color temperature. Set all three lights to the same Kelvin value, for example 5600K for a daylight look or around 4300K for a warmer room. Then set the camera's white balance manually to the same number so it does not drift between takes. Only switch the 530 to RGB if you want a deliberate colored rim.
- Set exposure with the lights. Lock the camera exposure for your face and then adjust light brightness rather than raising camera gain. If you wear glasses, raise the key a little or move it farther to the side until the reflection leaves the lenses.
- Mark and save. Tape the floor at each stand foot, note brightness percentages for each light, and save the hair light settings in the NEEWER app so the next recording takes minutes to set up.
Mistakes to Avoid
Bottom line
For a desk creator moving up from a ring light, a pair of bi-color 660 panels with softboxes as key and fill, a 530 RGB hair light on a boom stand, and a reflector for quick fill or spill control is a complete three-point kit with matched color. Set the key off axis, run the fill at about half power, keep the hair light out of frame, and match every light to the camera's white balance. View on Amazon for current pricing before you order.
Read next
- Best Webcam and Key-Light Combos for Video Calls in 2026
- An $800 Creator Streaming Desk: Camera, Audio, and Light in Buy Order
- Elgato Key Light Air MK.2 vs Logitech Litra Beam: Which Desk Light?
- Best Teleprompters for YouTube and Course Recording in 2026
- Turn a DSLR or Mirrorless Camera Into a Webcam: Everything You Need
- A Streaming Desk at Three Budgets


