


If you just bought an external drive and plugged it into your Mac only to find it shows up wrong, won't let you write to it, or is asking to "initialize," you're in the right place. This guide walks you through how to format an external drive for Mac using the built-in Disk Utility, and it clears up the APFS vs exFAT vs NTFS confusion that trips up almost everyone. By the end you'll know exactly which format to pick for your situation and how to apply it in a few minutes.
This is for anyone setting up a new backup drive, a portable SSD for editing, or a shared drive that has to work on both a Mac and a Windows PC. The process is genuinely simple once you understand the tradeoffs.
Understand the three formats before you pick one
Before touching Disk Utility, know what you're choosing. This is the part that actually matters.
APFS (Apple File System) is Apple's modern format. It's the best choice if the drive will only ever be used with Macs. It's fast, handles Time Machine backups (on macOS Big Sur and later), and supports snapshots and encryption cleanly. The catch: Windows cannot read APFS without paid third-party software.
exFAT is the universal option. Both Macs and Windows PCs can read and write to it out of the box, and so can most game consoles and cameras. If you move a drive between a Mac and a PC regularly, exFAT is the answer. The downside is it has no journaling, so it's slightly more prone to corruption if you yank the drive mid-transfer, and it's not ideal for Time Machine.
NTFS is the native Windows format. Here's the key fact Mac users need: macOS can read NTFS drives but cannot write to them without extra software. So a drive that arrives NTFS-formatted (many do) will look read-only on your Mac until you reformat it. NTFS makes sense only if the drive lives primarily on a Windows PC.
Pick the right drive for the job
The format matters, but so does the hardware. For a straightforward Mac backup drive, a big spinning hard drive gives you the most storage for your money.
The Seagate Portable 4TB is the default first backup drive for a reason, and it works with Time Machine once you reformat it (it ships NTFS, so Mac users have to erase it first, which is exactly what this guide covers). Just know that on long multi-terabyte copies its speed can crawl, so it's a backup drive, not a scratch disk.
If you're editing photos or video and want speed, a portable SSD is the better tool.
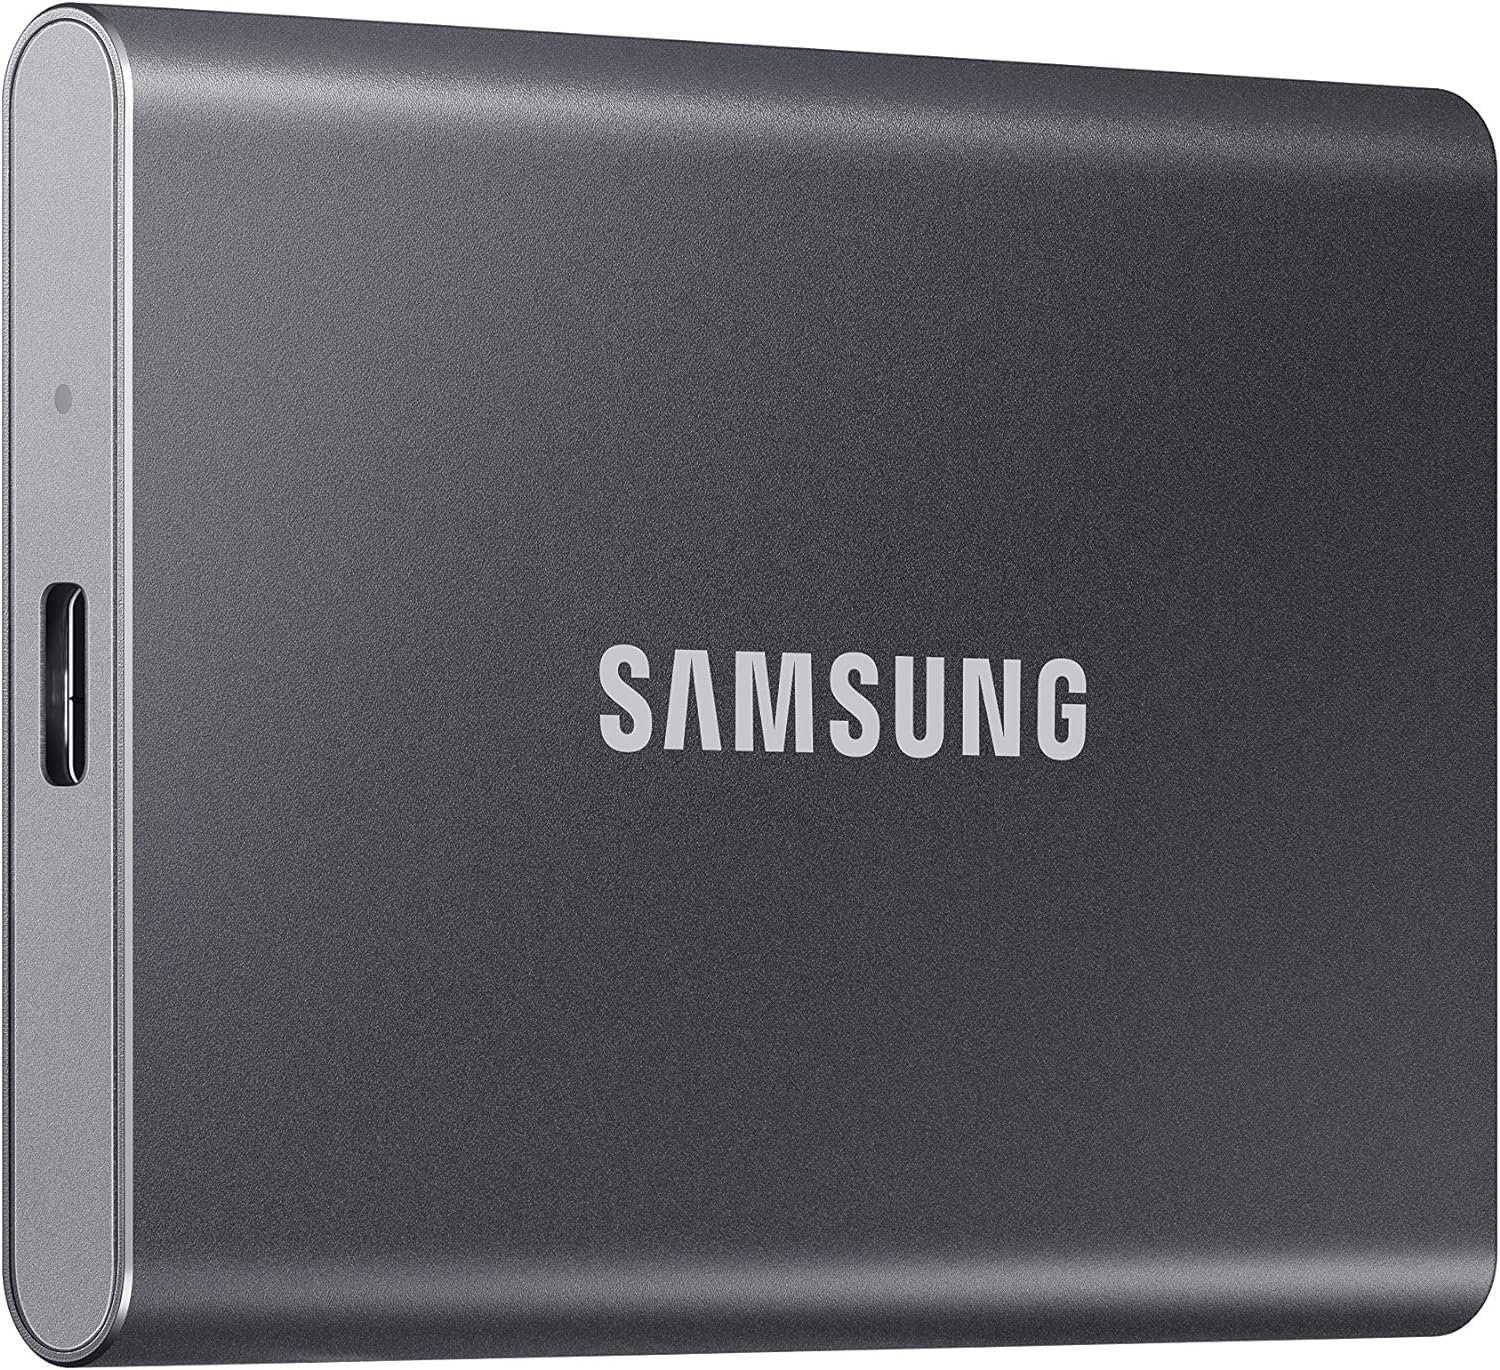
The Samsung T7 hits up to 1,050 MB/s, has no moving parts, and fits in your palm. A sensible split: keep one formatted APFS for active project files and let the big Seagate handle archival backups.
| Attribute | Seagate Portable 4TB External Hard Drive (STGX4000400) | Samsung T7 Portable SSD (1TB) |
|---|---|---|
| Rating | 4.6 | 4.7 |
| Price | Not listed | Not listed |
| Capacity | 4TB | 1TB |
| Interface | USB 3.0 (5Gbps), micro-B connector | USB 3.2 Gen 2 (10Gbps) |
| Dimensions | 4.61 x 3.15 x 0.81 in (117 x 80 x 20.9 mm) | 85 x 57 x 8.0 mm |
| Weight | 9.2 oz (approx 260 g) | 58g |
| Power | Bus-powered, no adapter | Not listed |
| Included cable | 18-inch USB 3.0 | Not listed |
| Warranty / services | 1-year limited + 1-year Rescue Data Recovery | Not listed |
| Real-world transfer speed | approx 100-130 MB/s sequential | Not listed |
| Sequential Read | Not listed | Up to 1,050 MB/s |
| Sequential Write | Not listed | Up to 1,000 MB/s |
| Buy | View on Amazon | View on Amazon |
Connect the drive and open Disk Utility
Plug the drive into your Mac. The Seagate uses a micro-B USB cable (be gentle with that connector, it's the drive's weak point), while the T7 uses USB-C. Wait a few seconds for the drive to mount.
Now open Disk Utility. Press Command and Space to open Spotlight, type "Disk Utility," and hit Return. You can also find it in Applications > Utilities.
Select the correct drive in the sidebar
This is the step where people make expensive mistakes. In the left sidebar you'll see your internal Mac disk and your external drive. Click the top-level entry for your external drive (the one showing the manufacturer name and capacity, like the 4TB Seagate), not the indented volume beneath it.
Double-check the capacity and name so you are 100 percent sure you're pointing at the external drive and not your Mac's internal storage. If you're unsure, unplug the external, note what disappears from the list, and plug it back in.
Click Erase and choose your format
With the correct drive selected, click the Erase button in the toolbar. A dialog box appears with three fields:
- Name: Whatever you want the drive called, like "Backup" or "Editing SSD."
- Format: This is where you apply the decision from earlier. Choose APFS for Mac-only use, or ExFAT for a Mac/Windows drive. NTFS won't appear as an option because macOS can't create it.
- Scheme: Choose GUID Partition Map. Always pick this on a Mac. Don't use Master Boot Record unless you have a very specific reason.
If you plan to use the drive for Time Machine backups, pick APFS. Modern macOS handles Time Machine on APFS drives cleanly.
Run the erase and confirm it worked
Click Erase. For SSDs like the T7 this takes only a few seconds. For a large hard drive it may take a minute or two. When it finishes, click Done.
Your drive now appears in the sidebar with the new name and format. To confirm, click the volume and look at the info at the bottom of the Disk Utility window, or check the top of the Finder window when the drive is open. You should be able to drag a test file onto it and have it copy without any read-only warning.
Set up your workflow
With the drive formatted, put it to work. If you formatted APFS for backups, open System Settings > General > Time Machine and add the drive as a backup destination. If you went exFAT for cross-platform use, just start dragging files, but always eject the drive properly (drag it to the trash or click the eject arrow in Finder) before unplugging, since exFAT has no journaling to protect against yanked cables.
✓ Pros
- ✓ Disk Utility is free, built in, and takes under five minutes
- ✓ You control the exact format for your Mac, Windows, or mixed setup
- ✓ APFS unlocks fast Time Machine backups and optional encryption
- ✓ exFAT gives you true drag-and-drop between Mac and PC
✕ Cons
- ✕ Formatting permanently erases the drive, so mistakes are costly
- ✕ macOS still can't write to NTFS without paid software
- ✕ exFAT lacks journaling, so improper ejects risk corruption
- ✕ Picking the wrong drive in the sidebar can wipe the wrong disk
That's the whole process. Pick the format based on where the drive will live, erase with GUID Partition Map, and you're done. If you're still shopping, grab the drive that fits your need.

